This article describes the process of pre-populating forms with data to be available on the Collect Mobile application. Pre-population of data can be added to any template. Select a data mapping template that will be used to create the data. Link a user report with the desired data to the template and map data to the fields available in the template.
Note: If pre-populated forms have dynamic headers (i.e., the header changes after entering data) and field crews will be using the forms with data sync functionality, use Data Sets to ensure that completed forms replace the existing, pre-populated records rather than merging as new records. |
|---|
Add Pre-population to a Template
Select the Pre Population button in the Form Template Layout window to open the Pre Population dialog. Click the Select Report button to open the Report Chooser and select the desired user report. In the image below, the user report "Collect - Field EDD" was selected.
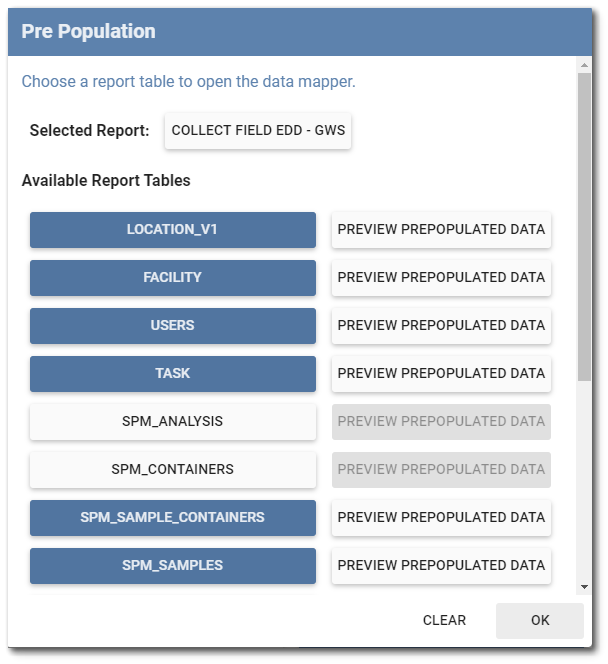
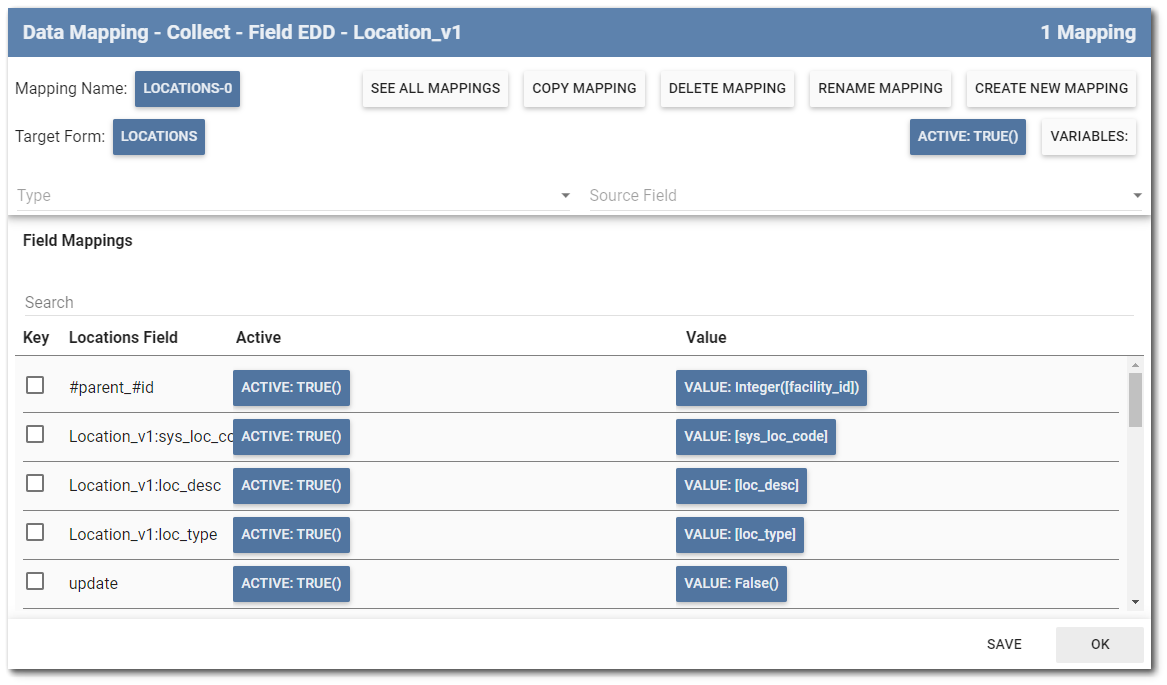
The available report tables are displayed. Select a table to open the Data Mapping window and map data as needed. See the Data Mapping article for details on the data mapping process. Tables that contain pre-population data mappings are highlighted in blue to be easily discernible.
Note: Upon modifying any existing pre-populations, a user will be notified if over-writing existing pre-populations. |
|---|
Clicking the OK button will save and close the dialog window. Clicking the Save button will save the current data entered and keep the dialog window open.
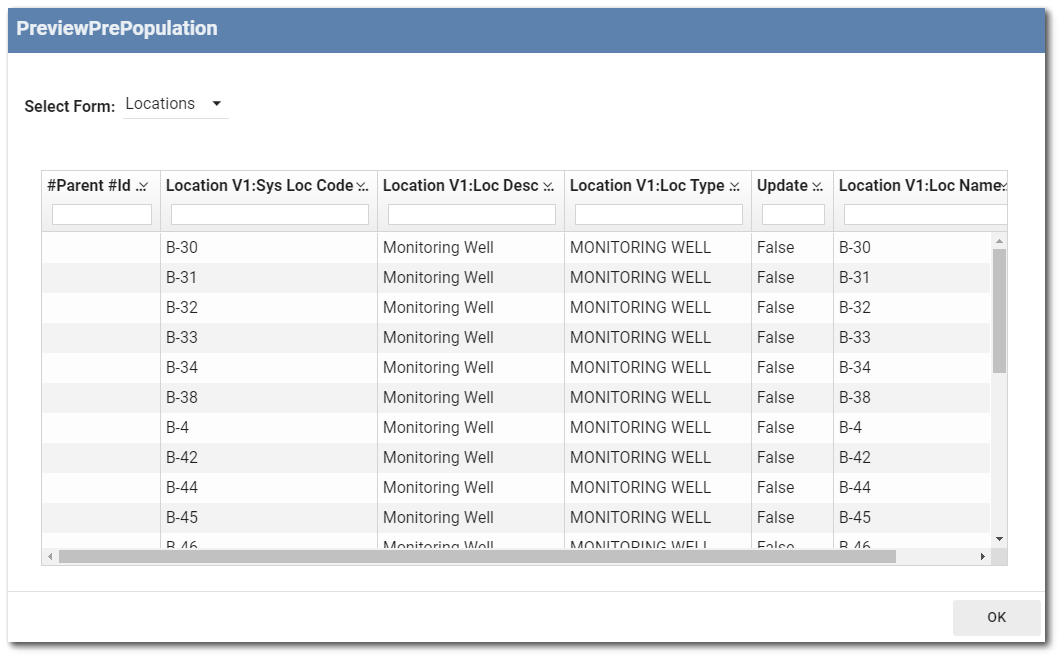
After adding pre-population tables, users can preview the pre-populated data that has been added. To preview the pre-populated data, click on the Preview Pre-Populated Data button beside any pre-populated table, highlighted in blue. The PreviewPrePopulation window opens displaying the data that has been added from the specified tables to the template fields.
The Clear button can be used to clear all pre-population data mappings.
Note: When populating child form data using the #parent_#id field identifier in a pre-populated mapping, if the parent form does not exist the mapper cannot create the child row.
When creating a pre-population template, be sure to setup child form population as a linked mapping to the parent form population so that the parent form record is created before the child form record. |
|---|
Example
As an example, the following steps demonstrate how to use this feature to pre-populate monitoring locations into a Collect template and form.
1.Create a template. For this example, a Water Level template has been created with the following fields:
•WATERLEVEL_V1:SYS_LOC_CODE
•WATERLEVEL_V1:MEASUREMENT_DATE
•WATERLEVEL_V1:DRY_INDICATOR_YN
•WATERLEVEL_V1:WATER_LEVEL_DEPTH
•WATERLEVEL_V1:DEPTH_UNIT
•WATERLEVEL_V1:TECHNICIAN
•WATERLEVEL_V1:REMARK
•WATERLEVEL_V1:HISTORICAL_RANGE
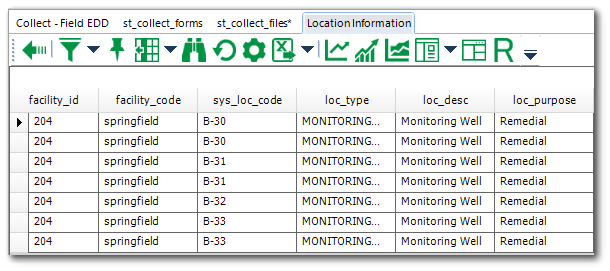
2.Create a user report form using the Location Information report from either EQuIS Professional or Enterprise. In this example, a springfield_locations user report was created in EQuIS Professional.
3.In the Form Template Layout page, click on the Pre Population button to open the Pre Population dialog box.
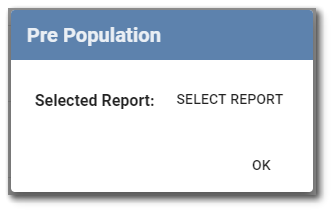
4.Click the Select Report button to open the Report Chooser and select the desired report. In this example, the user report "springfield_locations" is selected. Click OK.
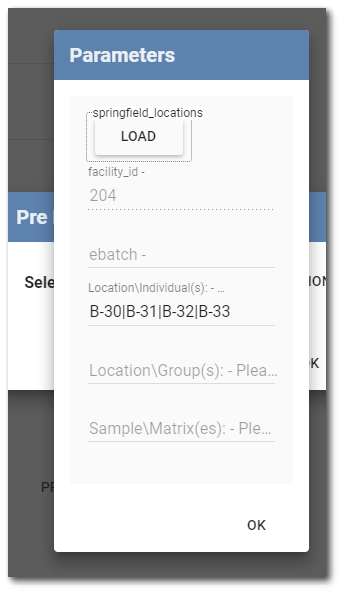
5.On the Parameters dialog box, click the LOAD button to load the report parameters. Click OK.
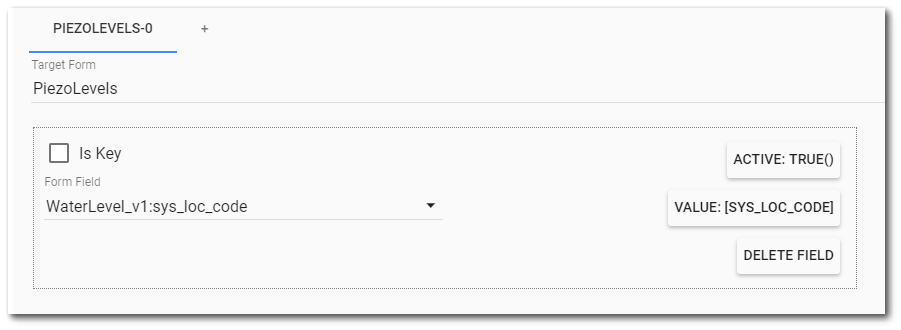
6.The mapping between the report and template can now be performed. Click on the report table to be mapped. In this example, the report table is V54_Location_info. On the mapping form, select the Target Form from the template and click Add Mapping.
7.Click Add Field and select a field from the form and a value from the report. Extra fields can be added, but in this example, only the SYS_LOC_CODE is added. The example data mapping is show below.
8.On the Forms page, create a new form. In this example, the new form is created using the Water Levels template and titled demo_prepopulation. The User Report button can be used to open a specific user report and add extra filters. In this example, only B-30 and B-31 are selected from the location list. Click OK and Save. Note that the form is now pre-populated with the specific report data.
9.The new form with the pre-populated data will be available for download on a mobile device. In this example, the form demo_prepopulation has two records pre-populated with locations B-30 and B-31.
