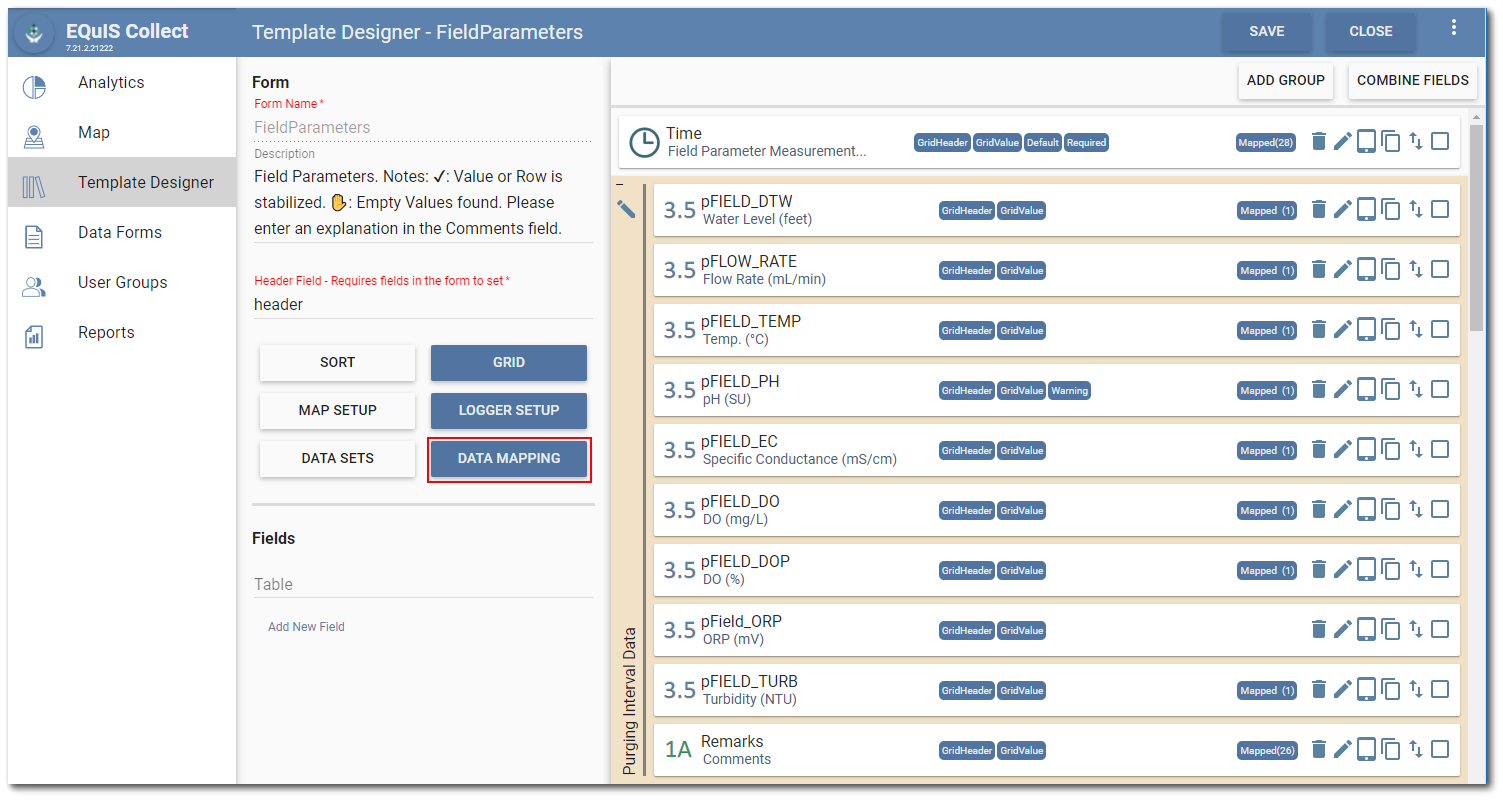
Depending on the format used, mapping to the database is provided by default but can also be customized at will. To edit or build the data mapping on a form, click the Data Mapping button on the Fields section of the Form Setup page on the Template Designer page.
The Data Mapping window opens with the form name listed in the window header. If data mappings have already been created for the form, the first mapping will be displayed and the number of mappings will be displayed on the right side of the Data Mapping window header. If the form does not have data mappings, the Create New Mappings window will open. (Creating a new data mapping is discussed later in this article.)
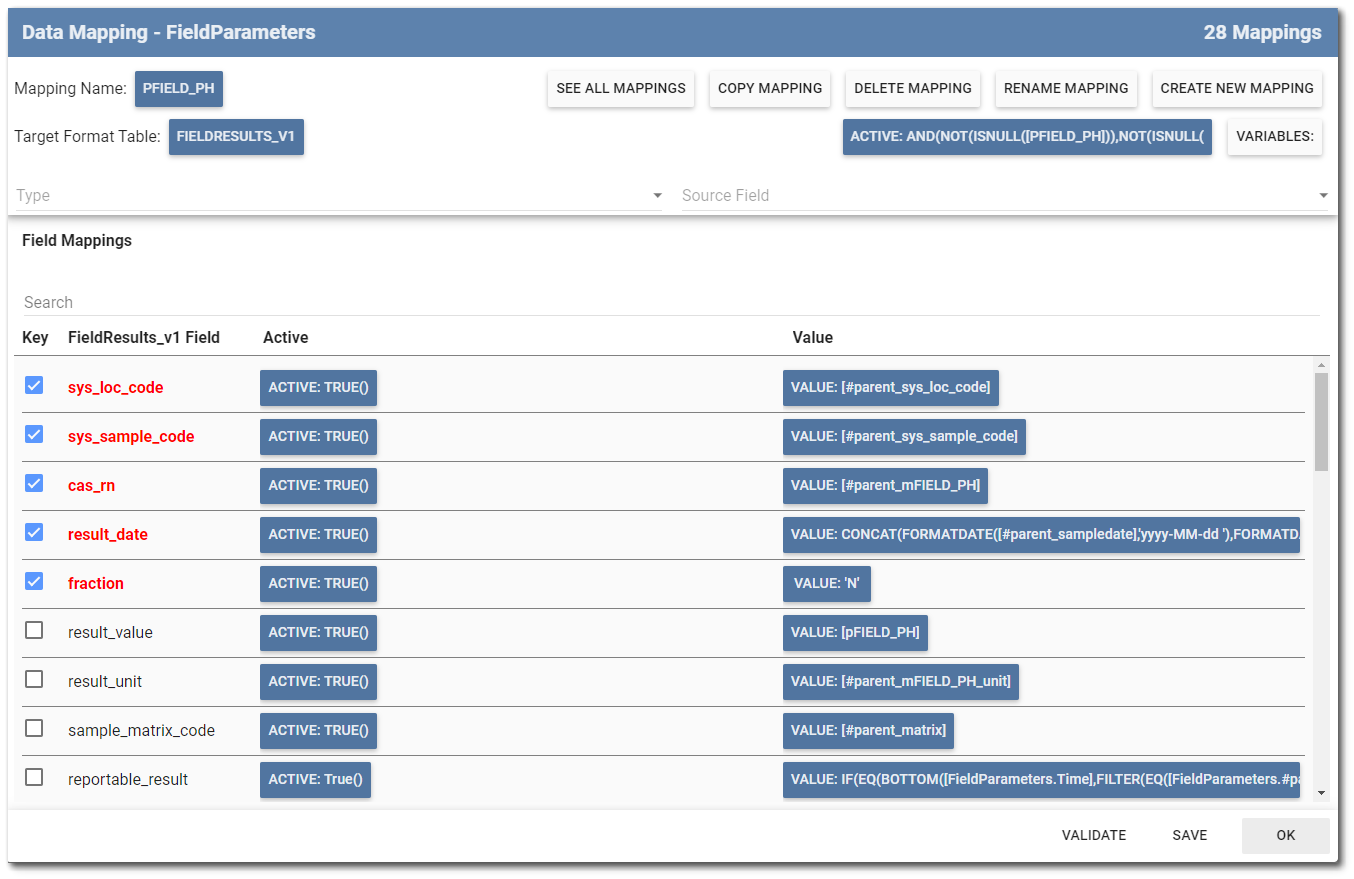
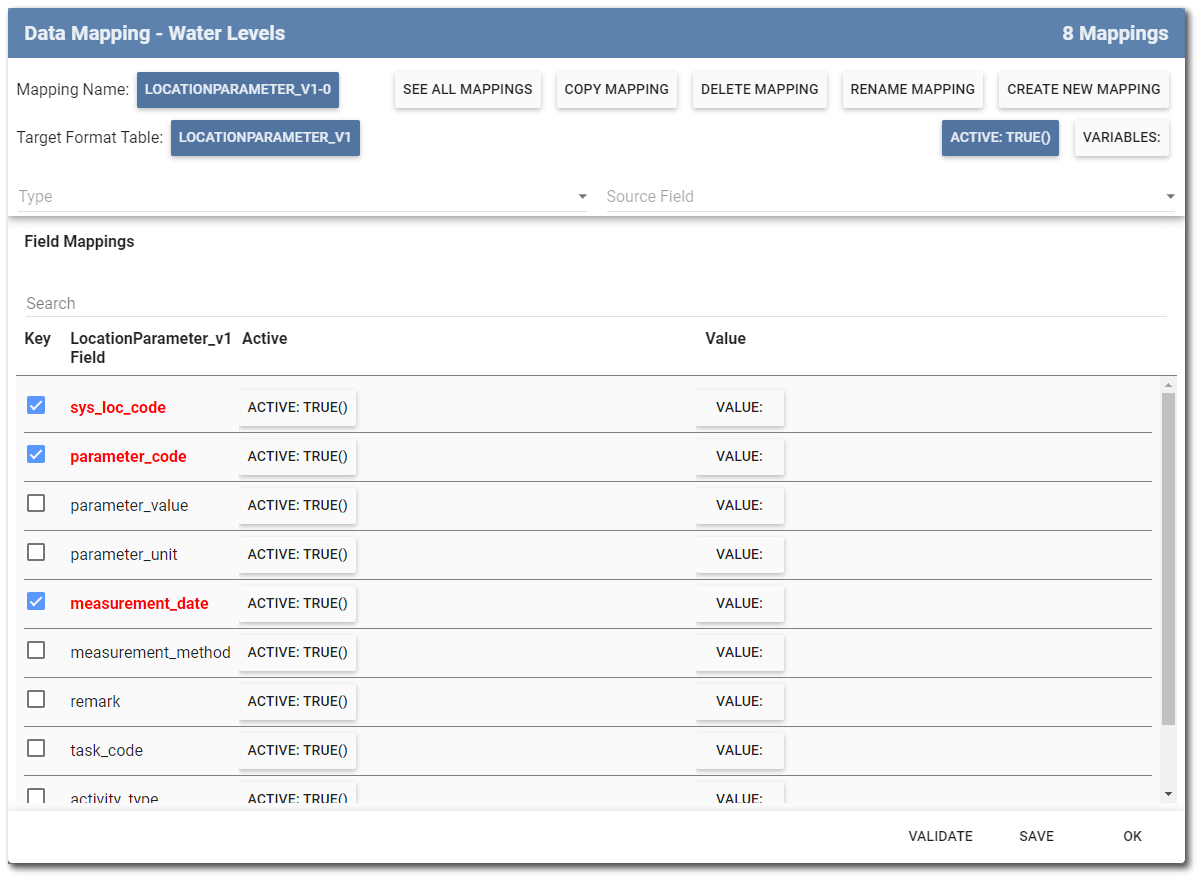
Fields in the target format table are displayed in the Field Mappings pane. This allows for easy review and editing of data mapping on the entire form. The search bar allows users to enter search strings for field names as well as value and active attribute formulas.
If the field is a primary key field, the Key box will automatically be checked and the field name is red. Uncheck the box to remove the key designation from the field. Check any field to make it a key field.
Note: The key property of a field mapping determines whether the field is part of the table mappings search key. The table mappings search key is the combination of all the key fields and must be the same for all mappings that target the same table. This key is used when multiple mappings are needed to complement each other to populate data. For example, if the location table is targeted from two separate forms, the SYS_LOC_CODE field could be used as the key and then the data from both forms would be combined on the rows that have the same SYS_LOC_CODE value. It should be noted that if search keys are defined, then any duplicate rows that have the same key values will override each other. Thus, it is possible that the data in the first created row will be overwritten by the data in the second created row. This would mean that duplicate row errors would not exist in the generated EDD, potentially causing data loss. In general, keys SHOULD NOT BE USED for field mapping unless multiple mappings are targeting the same table and need to combine data from both source tables. In that case, the search keys must be the same for all the mappings. |
|---|
The data mapping value for each field can be customized through the Formula Builder. Click the Value button to open the Formula Builder and create a data mapping. For any field with a data mapping (i.e., formula) assigned to the value property, the active property is automatically set to TRUE. The Value button is blue and displays the formula. The Active button is also blue and can have a formula assigned.
To assign a formula to the entire table, select the Active button to the right of the Target Format Table drop-down. The Variables button is also a table level attribute that allows users to specify variable replacements in their mappings. When this attribute is set, the mapper will iterate over each of the JSON (JavaScript Object Notation) objects in the attribute and replace each of the fields specified by the keys of the object with the corresponding value. See the Variables Attribute example article for more information of this feature.
Note: The table level Variables attribute feature is executed prior to the table level Active attribute. |
To remove a formula from any field or the table, open the formula builder and delete the existing formula. The data mapping is removed and the button (active or value) will be white indicating an unpopulated status.
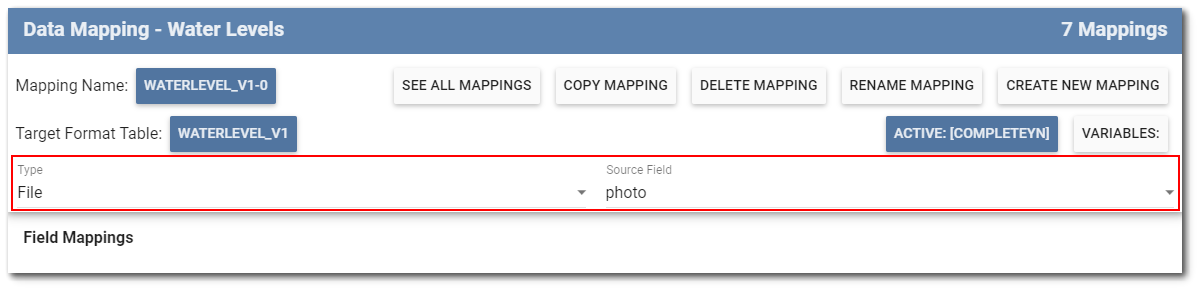
If the data mapping can link to other format tables, the 'Type' and 'Source Field' drop-down menus will be active below the target format table.
Note: A linked mapping sets the object EUID of the created row to the EUID of the row created by the linked mapping. Do not use a linked mapping with a previously created mapping that uses the table level Variables attribute feature. This will cause an error to be logged and the linked mapping will be ignored. Since the variables attribute generates a set of mappings, it does not have a single object EUID, and thus, cannot be used by the linked mapping, which needs a single object EUID to correctly link. |
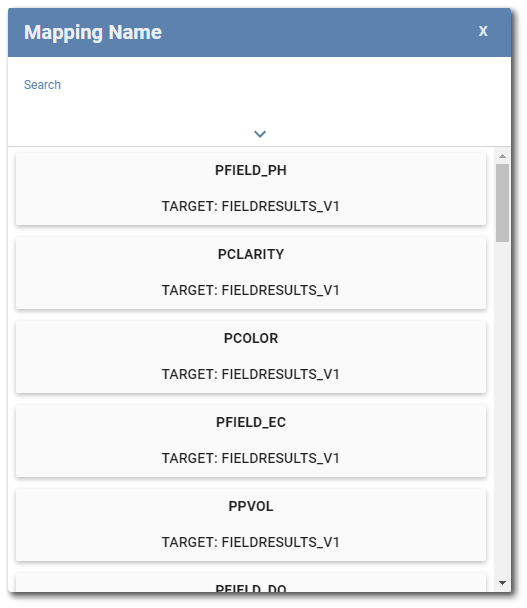
To access a different mapping on the form, select the button displaying the name of the current mapping to open the Mapping Name window. Use the advanced search box or scroll to find and select the desired mapping.
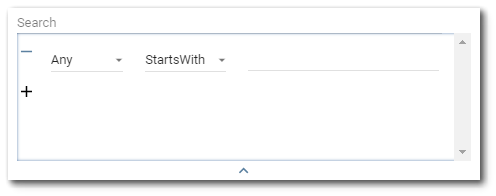
Advanced Search – Click the down arrow to expand the advanced search dialog window. Items that can be searched (e.g. ID, Target Table) will appear in the first drop-down. By default, the first drop-down will be selected as Any. The Any option will search all the items to match the expression with any of the properties. The second drop-down allows the user to select an operator (e.g. Starts With, Ends With, Equals, Contains). By default, the operator is set to StartsWith. The operator defines how the expression is matched to the items being searched. Enter the expression to be searched in the text field. Multiple expressions can be set by clicking the + button below the first expression. Expressions can also be removed/cleared by clicking the – button to the left of each expression. To collapse the advanced search dialog, click the up arrow at the bottom of the advanced search dialog. Note that collapsing the advanced search will not clear search expressions that have been setup.
Any data mapping can be quickly checked for anything setup incorrectly by clicking the Validate button. A message dialog will display any errors, if detected, to guide the user on what to change.
Click Save to save changes to any data mapping. Click OK to close the Data Mapping window.
Create New Data Mapping
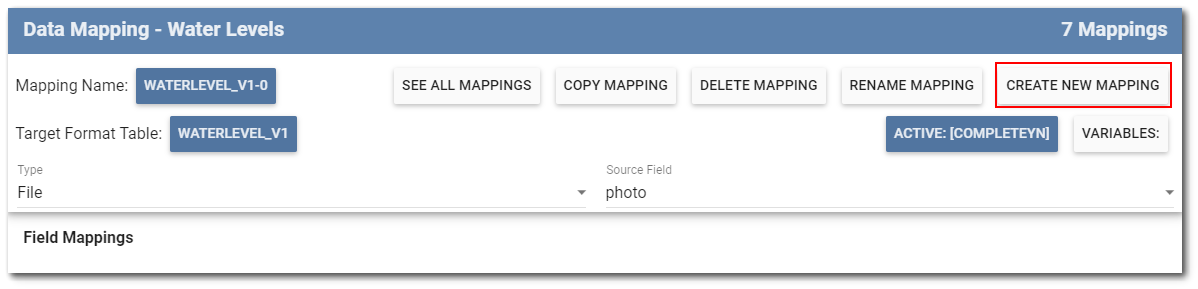
To add a new data mapping, click the Create New Mapping button in the upper portion of the Data Mapping window.
The Create New Mappings window opens and contains the sections (tables) of the format assigned to the template. Use the search bar or scroll to find and select the desired format table.
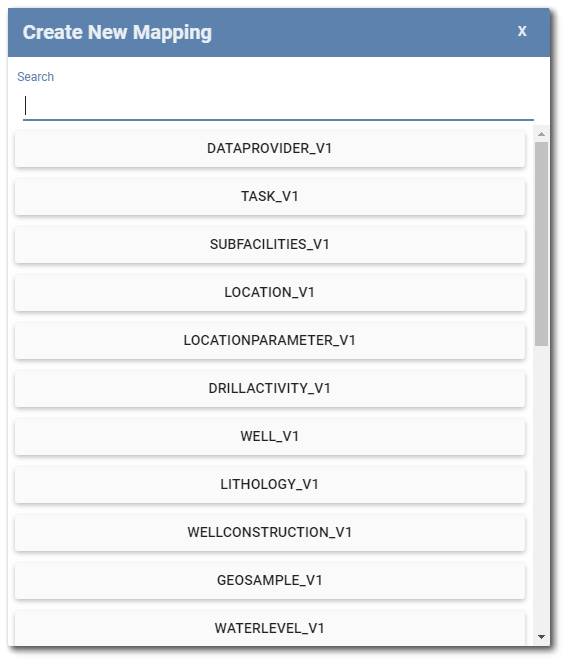
The Data Mapping window updates to have the selected format table assigned as the target format table and as the mapping name. In the example below, the LocationParameter_v1 table was chosen.
Fields in the target format table are displayed in the Field Mappings pane without any formulas assigned. Create any data mappings using the formula builder as described earlier in this article. Click Save to save the new data mapping. Click OK to close the Data Mapping window.
Note: A database field can be mapped multiple times. For example, the SYS_LOC_CODE can be mapped to HISTORICWATERLEVEL_V1 and also to HISTORICALOCATION_V1. |
Copy Data Mapping
Data mappings can be copied for quick and minimal changes, which is helpful when adding multiple data mappings that require similar structure for the same target format table. An example is when mapping field parameters (e.g., pH, ORP, DO, etc.) for a Groundwater Form to the format table FieldResults_v1. The mapping structure will be the same for all the field parameters, but the values for the parameters will change depending on which parameter is being mapped.
To copy an existing data mapping, ensure that the current mapping is the one to be copied and then click the Copy Mapping button in the upper portion of the Data Mapping window.

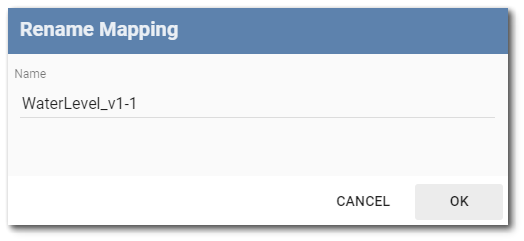
The Data Mapping window will have all the same data mappings, but the mapping name will be automatically modified. For the example above, the new mapping name is WaterLevel_V1-1. Edit the mapping name and any formulas. Click Save to save the copied data mapping. Click OK to close the Data Mapping window.
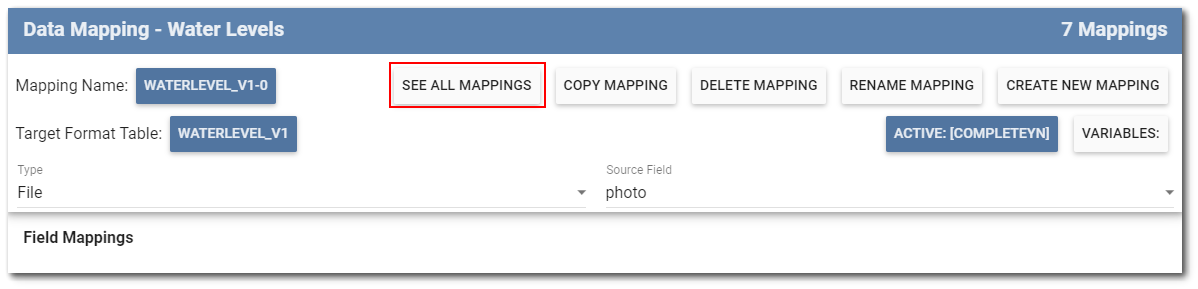
See All Data Mappings
The See All Mappings button allows users to see ALL data mappings on a form in a read-only table view, rather than viewing one data mapping at a time. Users can easily compare and verify data mappings without having to toggle between individual data mappings. This tool can be especially useful for forms with numerous data mappings or with many fields that have similar data mappings.
Select the See All Mappings button in the upper portion of the Data Mapping window to open the Mapping Grid window.
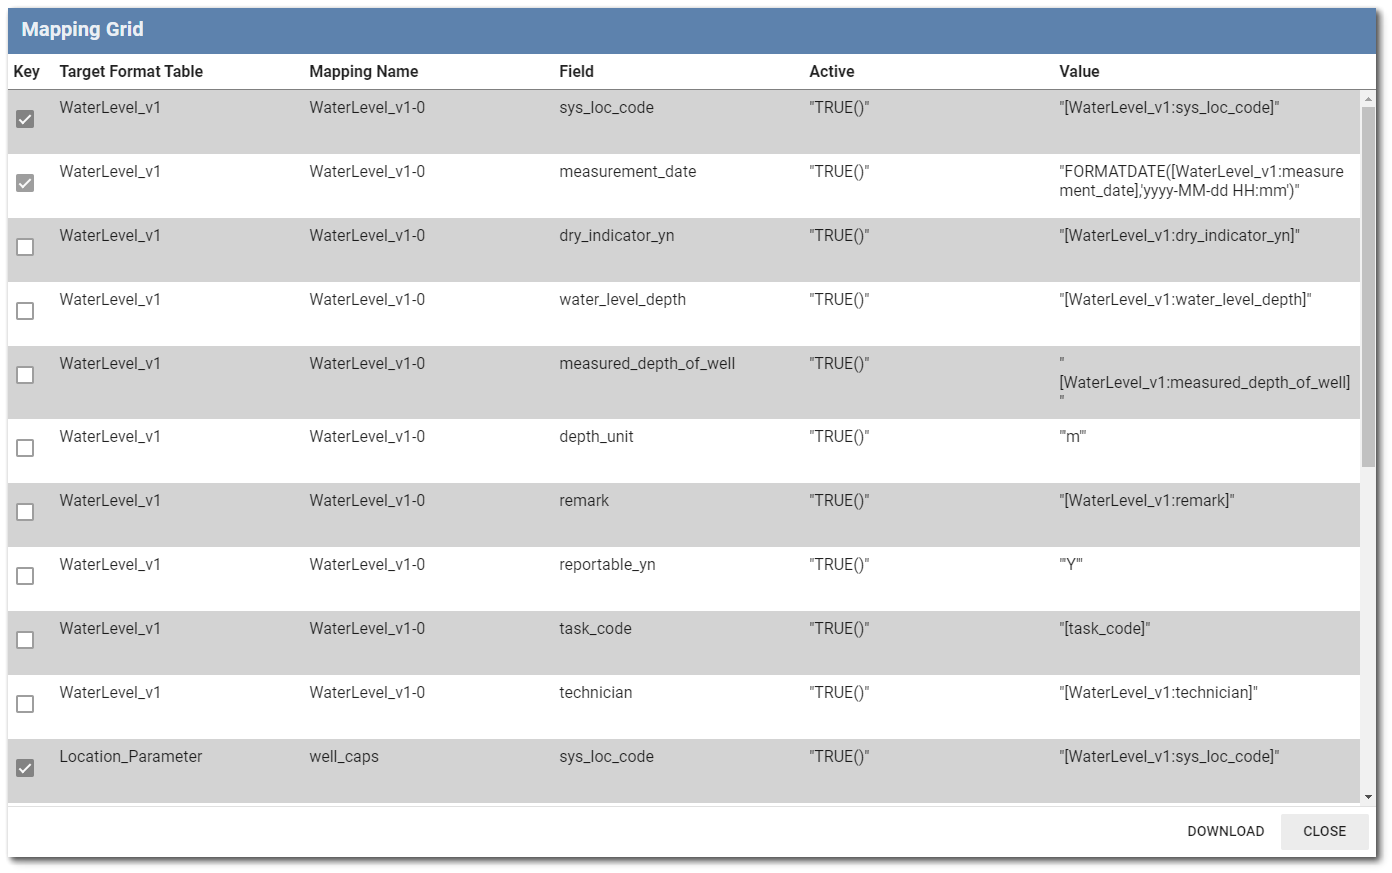
Click the Download button to save all the data mappings to a single CSV file.
Rename Data Mapping
Any data mapping can be renamed by selecting the Rename Mapping button in the upper portion of the Data Mapping window.

A dialog box will open allowing the user to rename the data mapping. Modify the name as desired and click the OK button.
Delete Data Mapping
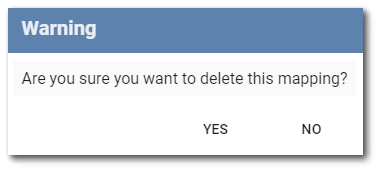
To delete the current data mapping, click the Delete Mapping button in the upper portion of the Data Mapping window.
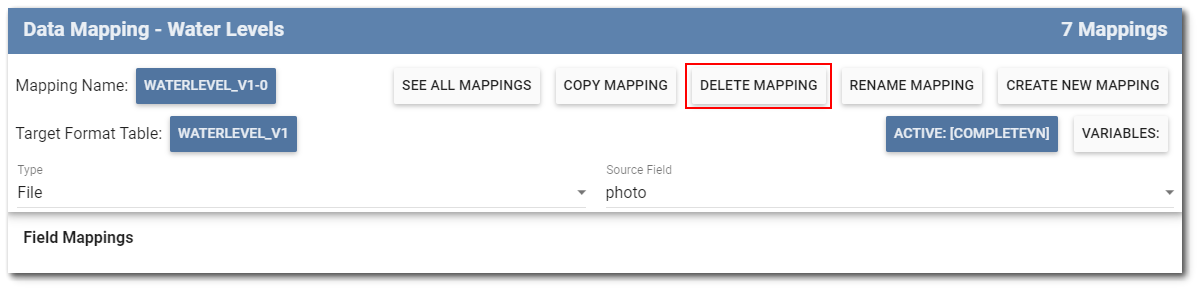
A message dialog will be displayed to confirm the action. Select the Yes button and the current data mapping will be removed.