The User Groups page lists approved EQuIS Collect users, and provides the tools to create or manage user groups and to assign individual users to specific groups. Access to templates and forms on the Collect Mobile app are controlled through assignment to user groups.
Note: Management of user groups is limited to Enterprise users belonging to the Admin role. |
The User Group page has several ways to view the user and group information, including Group Mode, User Mode, and by licensed role. By default, Group Mode is displayed where the user groups are listed on the left side. Selecting a user group will then display tiles of all available users with access to the site on the right side. Any user that is assigned as a part of that user group will feature a blue highlighted user tile.
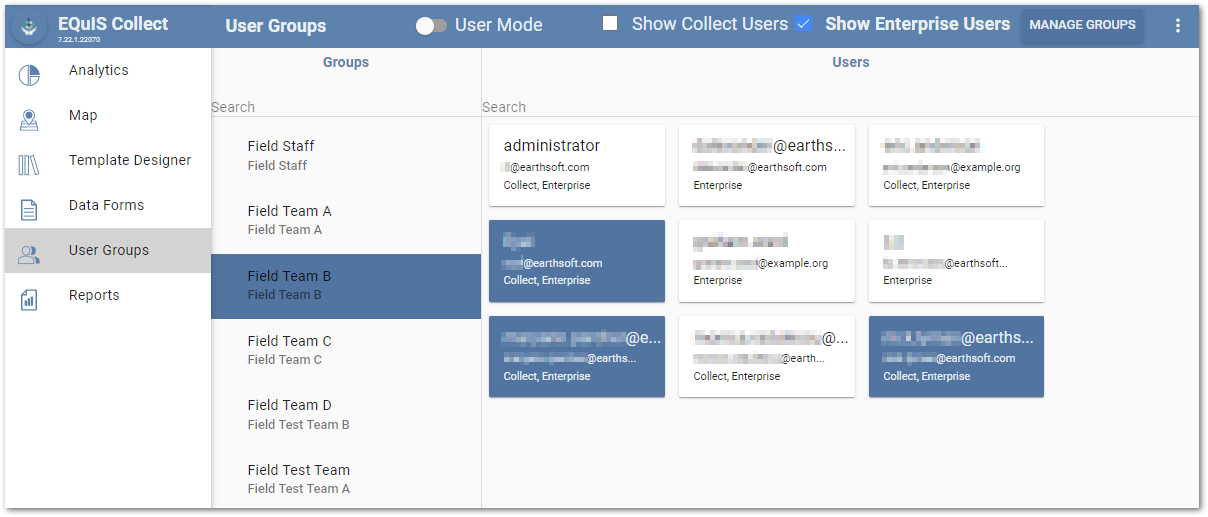
The view can be changed to User Mode by selecting the User Mode toggle/button at the top of the page. In the User Mode view, users are displayed on the left side. Selecting a user from the list will display tiles of all current user groups available on the right side, highlighting any assigned user group blue.

Two checkboxes, Show Collect Users and Show Enterprise Users, are displayed to the right of the User Mode toggle and enable showing users assigned to a Collect license role, an Enterprise license role, or both. By default, the Show Collect Users checkbox is selected. The Enterprise license allows users to enter data via the Web Forms widget but does not allow the full functionality of the Collect license role. Users that are assigned to the Collect and/or Enterprise license role(s) are listed by username and their assigned license role(s) are displayed at the bottom of the user tile. If an email has been entered in the user credentials, the email address will also be displayed in the user tile or list.
A search bar is available for the both the list and tiles in both Group and User Modes. The search bar can be used to filter out users and groups. Type the name (or a portion of the name) for the user or group into the search bar. Searching a username in the groups list will filter the groups to those assigned to that user. Searching for a group name in the user list, in User Mode, will filter all users to those assigned to the group.
Assign Users to User Groups
Depending on the view mode, select either a group or user from the list in the left window. Associated tiles for that selection will display in the right window. Assign any users or groups by clicking on the desired user or group tiles. Selected tiles will be displayed in blue. Since access to templates and forms on the Collect Mobile app is controlled through assignment to user groups, it is critical for users to be assigned to all necessary user groups.
Manage User Groups
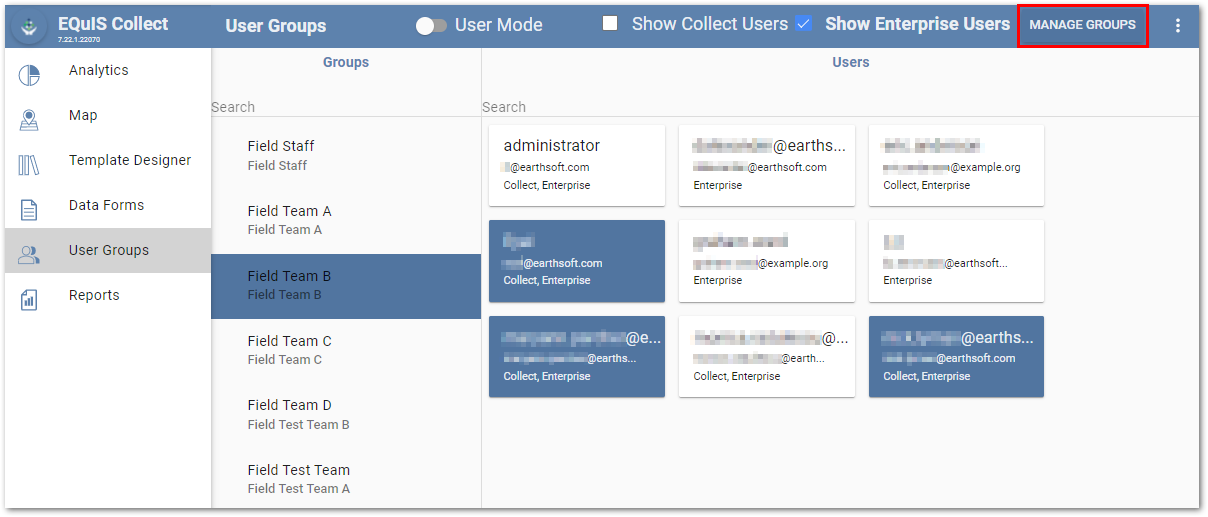
To create or manage a user group, select the Manage Groups button on the right side of the User Groups page.
The Manage User Groups page opens.
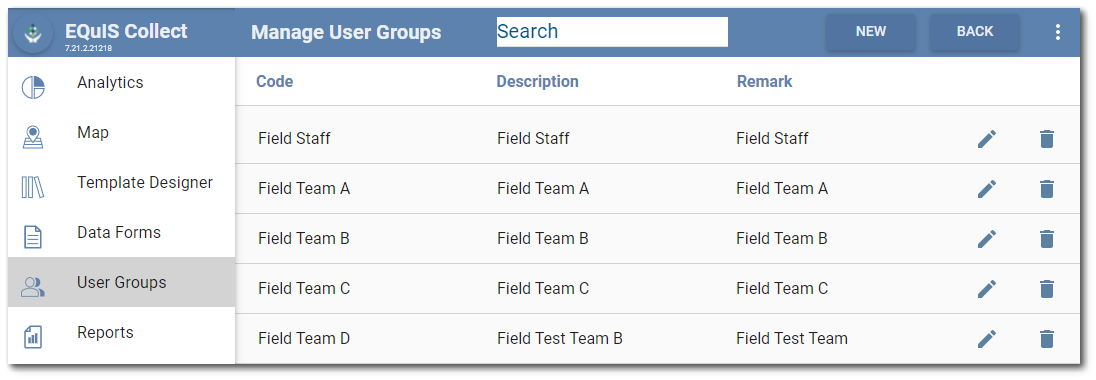
Each column in the Manage User Groups window are sortable by clicking on the column header (click again to reverse the sort). Sorting is alphabetically (A to Z or Z to A).
The Search box can be used to filter the user groups. Type at least three characters into the search field. Only user groups that contain the search term will be displayed.
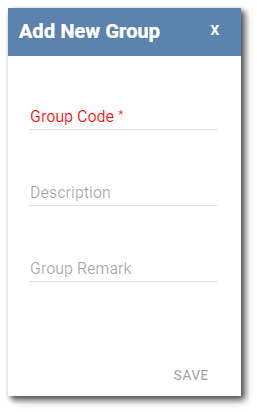
To create a new user group, select the New button and the Add User Group window opens. Enter a new Group Code. This field is required. Supply a description and remark as desired. Click the Save button to create the new user group.
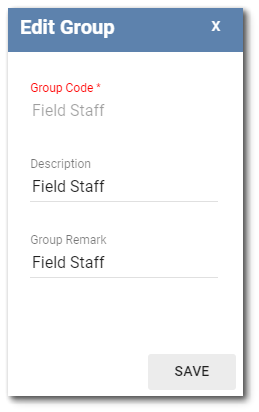
To edit an existing user group, click on the Edit ![]() icon of the desired group code in the Available Groups page. The information for the user group will populate in the Edit Group window. Edit the information as desired and click the Save button to save the changes.
icon of the desired group code in the Available Groups page. The information for the user group will populate in the Edit Group window. Edit the information as desired and click the Save button to save the changes.
To delete an existing user group, click on the Delete ![]() icon. A warning message will be displayed to confirm the deletion. Click the Yes button to delete the user group.
icon. A warning message will be displayed to confirm the deletion. Click the Yes button to delete the user group.
Select the Back button to close the Available Groups page and return to the User Groups page.